Cable Management
I learned the importance of cable management early in my astronomy career…
It took me 3 weeks to align my first telescope, a Celestron Evolution 9.25″ SCT. I was trying to use the my iPad connected via the built-in WiFi server in the Evo, but the EVO would drop the connection (a common problem I now solve using a Mesh Network). On the advice of folks on Cloudy Nights, I swapped the iPad for a Windows Laptop connected via USB. I was able to perform a 4-star manual alignment on my first attempt!
I was so excited!! I slewed the telescope under computer control to my very first target — Jupiter. Unfortunately, the telescope’s dew hood was connected to its own power supply via a 12V wire hanging off the front of the telescope. It wrapped around the EVO mount, tore the wire out of the dew hood, and then locked up the azimuth hub. The mount lost my painstakingly entered, first-ever manual alignment. I nearly cried.
This was my introduction to cable management.
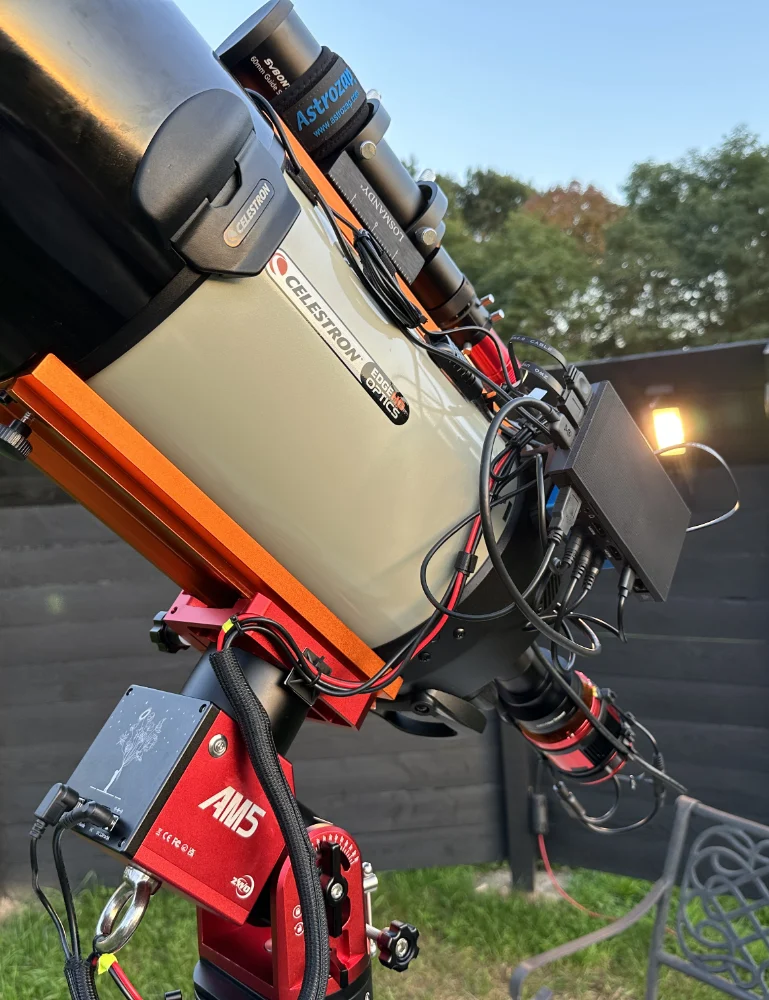
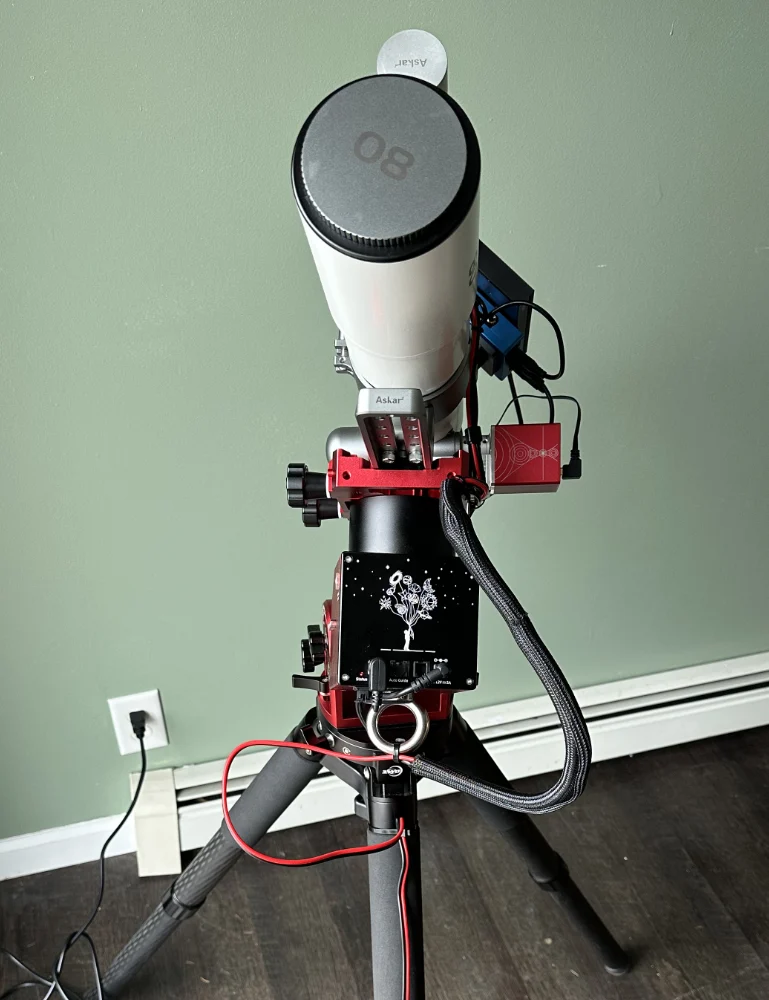
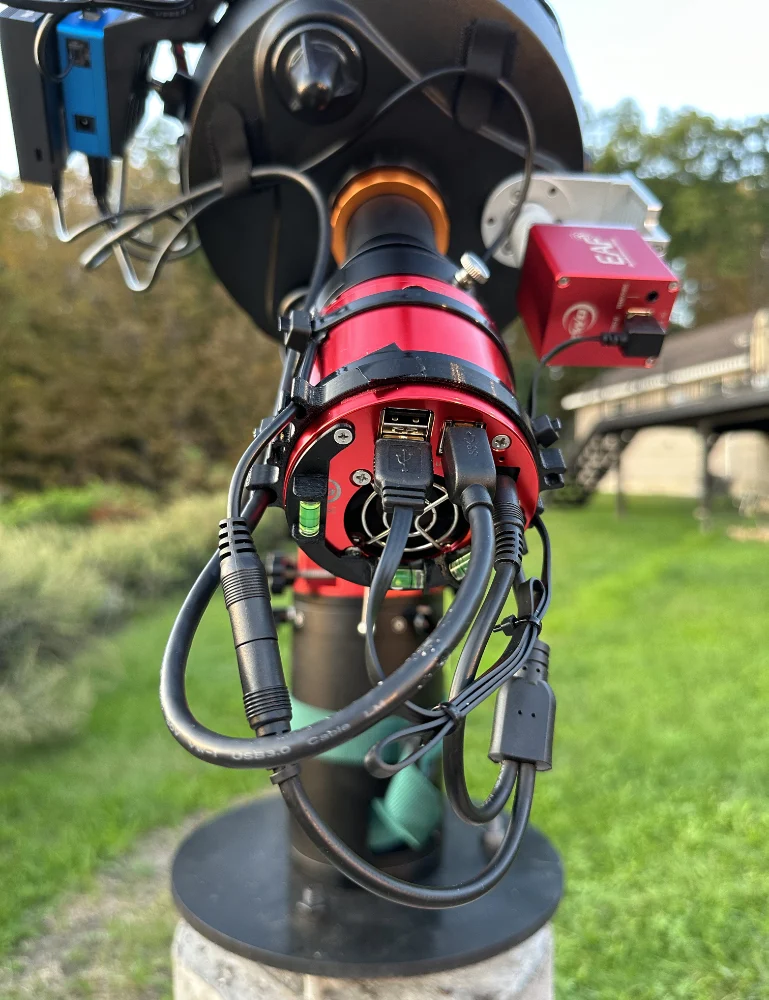
Since then I’ve worked on all of my mounts to keep them as tidy as I can. Of course, in EAA you have a lot of cables. On my EdgeHD I have USB cables to: 1) camera, 2) guide camera, 3) focuser, 4) mount, 5) powerbox, plus power cables to: 6) power-in cable from an external 20A 12v power supply on the ground to the powerbox, plus power-out connections to 7) the mount, 8) camera cooler/dew-heater, 9) computer, and 10) focuser. Not to mention: 11) dew heater connector to the front of the scope, 12) dew heater connection for the front of the guide scope, and 13) the environmental sensor that plugs into the powerbox via an RJ11 plug. That’s a LOT of cables to keep straight! Not only that, but add a filter wheel and camera rotator, which a lot of folks who do conventional astrophotography have, and you might be looking at 14-16 cables!
So Cable Management is a critical discipline, especially if you want to run your telescope remotely. Here are my suggestions:
- Mount a power distribution box and the control computer on the OTA. I use a Pegasus Powerbox Mini and a Melé Quieter 3 mini PC. This means most of the cables can stay a fixed length as the powerbox and computer rotate with the telescope. The exceptions are the cables to the mount.
- Use an equatorial mount, and attach the computer/powerbox close to the declination axis. This allows you to connect cables to the mount and the ground with two, small loops: one for the RA axis, the other for the DEC axis.
- Use a single power feed from the ground to the OTA-mounted powerbox to power all accessories, My powerbox is rated at 10A, and I use a 20A power supply plugged into the ground, housed in a waterproof box. At remote sites I can use an inverter plugged into my EV, or a battery pack.
- Try to find cables the right length and no longer. If you MUST use a cable that’s too long, use cable ties to neatly hold excess cable in a loop, and attach the loop to the OTA so it doesn’t shift as you slew the telescope.